How Do I Change and Connect My Printer to a New Wi-Fi Network?
Reading time: 6 minutes
Author: G&G Printer Expert
Quick Answer: If you have just updated your home or office router, shifted to a new workspace, or changed your password, your printer will instantly lose its connection to your devices. Don't worry—your hardware isn't broken. To get back online fast, you simply need to update the network credentials stored inside the machine. You can quickly connect printer to new wifi settings by opening the printer’s built-in wireless wizard, linking it via a smartphone companion app, or tapping the physical WPS button on your router to establish a secure, wireless link in under two minutes.
Why Changing Your Wi-Fi Disconnects Your Printer
When you modify your network setup, your computer and smartphone usually ask you for the new password automatically. However, your desktop printer doesn't dynamically look for these changes on its own. It safely holds onto your old network name (SSID) and your previous security key. Because it is still trying to talk to a network that no longer exists in that exact form, you will experience sudden printing disruptions.
Common Reasons for Network Disconnection
New Router Hardware: Upgrading your physical internet box changes the printer identity, even if you keep the same password.
Updated Security Credentials: Changing your Wi-Fi password for safety breaks the existing handshake with your printer.
Office Reconfiguration: Moving your workspace or changing local network names (SSIDs) leaves the printer searching for a ghost network.
Network Band Split: Routers splitting into independent 2.4 GHz and 5 GHz channels can cause the printer to lose its default path.
Methods to Change Your Printer to a New Wi-Fi
The Wi-Fi Protected Setup Approach
If your home or small office router features a physical WPS button, this is hands-down the easiest method to add wifi printer access to your new network. You don’t need to type in a single network password or open an app on your phone. It is a simple, secure, two-button handshake that is perfect for printer without built-in display screens.
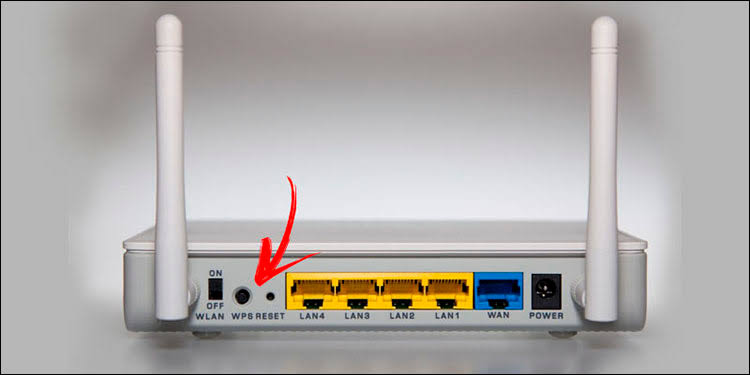
Locating the WPS button on a router.
Check the Distance: Ensure your printer is close enough to your internet router to get a strong signal during setup.
Press the Router Button: Locate the WPS button on the back or side of your router (look for a button labeled WPS or an icon with two curved arrows). Press and hold it for 3 to 5 seconds until the status light starts flashing.
Trigger the Printer: Within two minutes of pressing the router button, walk over to your printer and press the physical Wireless or WPS button until its network light begins blinking.
Wait for the Handshake: Give both machines about 60 seconds to find each other. Once they link up, the blinking Wi-Fi light on your printer will turn solid.
Crucial Timing Rules for WPS Setup
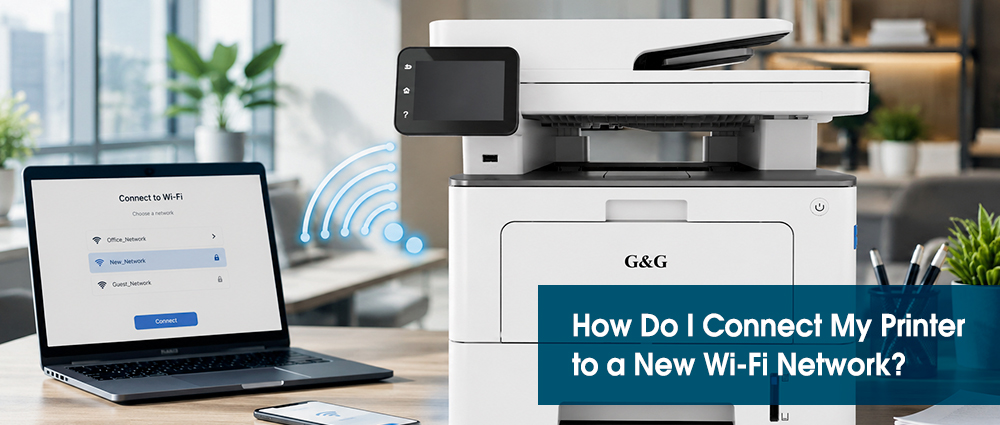
What to Do When Your Printer Still Fails to Connect
Let’s look at the two most common technical roadblocks and how to bypass them easily.
Resolving Setup Obstacles: Printer Not Connecting to WIFI
Check the Network Band (2.4 GHz vs. 5 GHz): Many modern routers combine both speeds into a single name. If your printer refuses to pair, log into your router settings or call your provider to make sure the 2.4 GHz band is broadcast separately. Most printers require this specific channel to establish a steady connection.
Clear the Router Cache: If you’ve recently changed your security password, your new router might still be trying to assign an old, conflicting IP address to your printer. Simply unplug your router for 30 seconds, plug it back in, and try the printer setup again.
A particularly tricky issue occurs when your printer doesn't stay connected to wifi long enough to update its firmware or register its new network credentials.
The Temporary USB Fix: If the wireless signal keeps dropping out mid-setup, connect a temporary USB cable from your printer to a laptop. Open the printer software on your computer to push the new Wi-Fi network details directly through the cable. Once the printer saves the network settings firmly, you can unplug the cable and print completely wirelessly.
Reduce Physical Interference: Heavy office desks, metal filing cabinets, and even microwave ovens can disrupt a weak wireless signal. Move your unit closer to the router for the initial setup to ensure the connection stays rock-solid long enough to finalize all updates.
Conclusion
Most wireless connection problems are completely straightforward to fix yourself. Always start with the basics: verify your network password, ensure your router is broadcasting a clear 2.4 GHz signal, and clear any stalled jobs from your print queue. By using a test page as your diagnostic anchor, you can easily track your progress and resolve the vast majority of setup issues entirely on your own.
When you need a truly reliable, hassle-free printing solution for your home or small business, it is worth looking at g&g wireless laser printer lineup. They offer rock-solid dual-band stability, effortless companion app setups, and smart toner tracking that makes maintaining your machine simpler than ever.