It is a truth universally acknowledged that poor quality printouts are caused by poor quality consumables, running out of toner and ink, paper jams or etc. But one factor most users often ignore about is using the improper printing setting.
Have you encountered poor print quality shown as Right Picture?
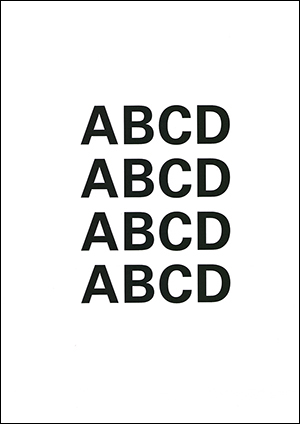
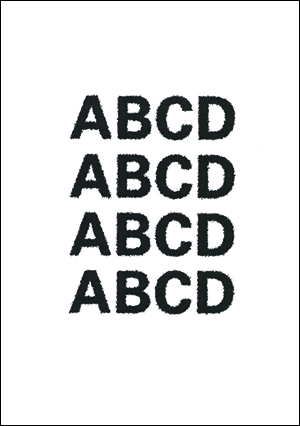
Normal (left) Copies appear bold, blurry and dirty (right)
If you are experiencing similar paper output shown as Right Picture, don’t worry. Here’s easy ways to fix.
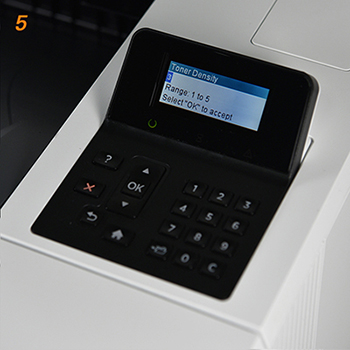
Solution 1: Adjust toner density to a lighter setting
Blurry, fuzzy, or dark prints may be caused by high toner density.
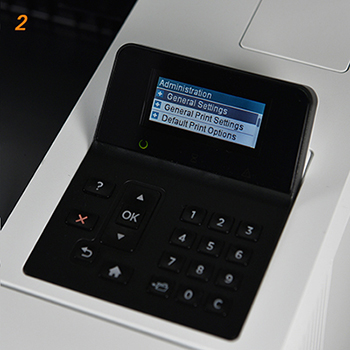
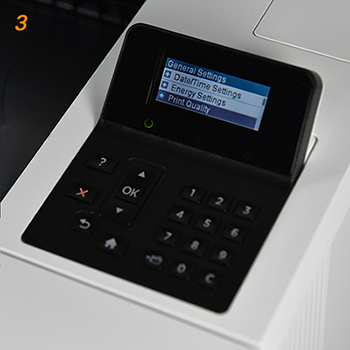
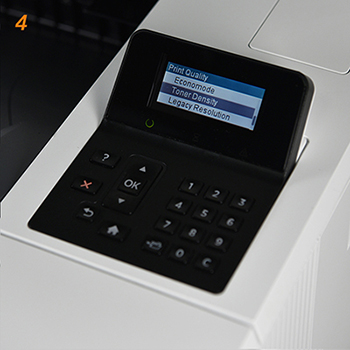
Open your printer, click Administration→General Settings→Print Quality→Toner Density to lower toner density to a lighter level.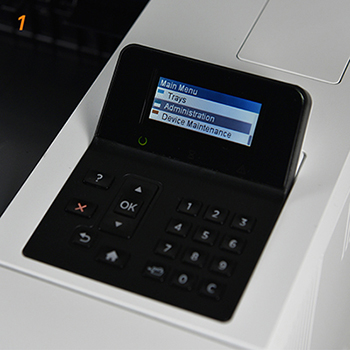
Solution 2: Check the paper type setting
Printer paper type settings really affect print quality. Make sure the paper or media type setting is appropriate for the fuser temperature.
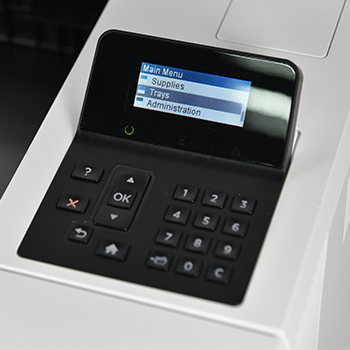
Step 1: Check the paper type setting on your printer
Click Main Menu→Trays to make sure your paper type setting matches the paper you’re using.
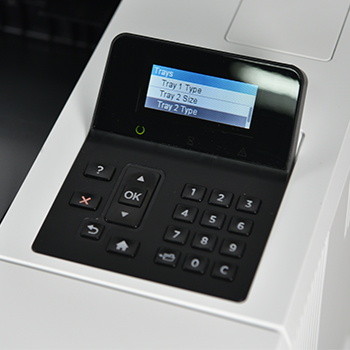
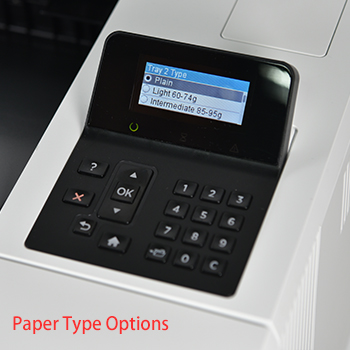
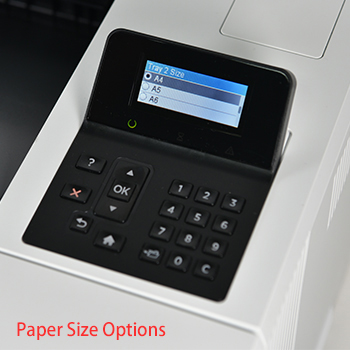
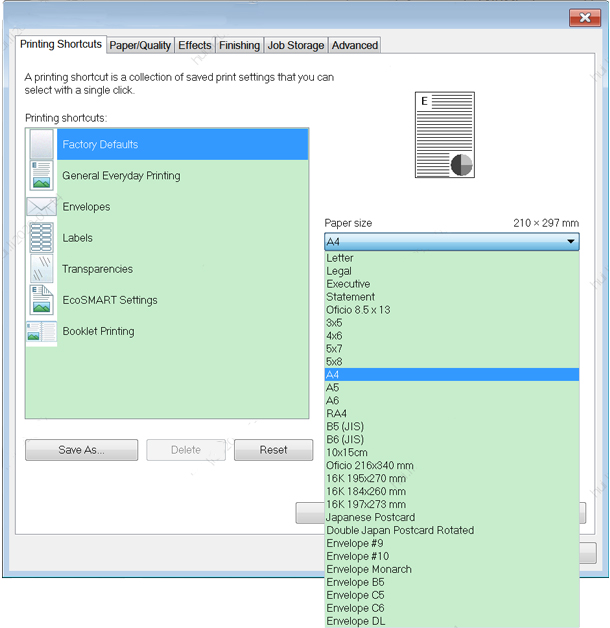
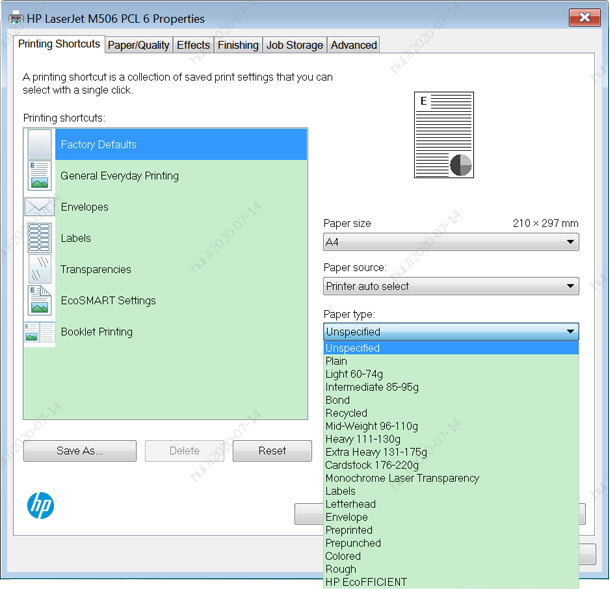
Step 2: Adjust page setting on your computer to in line with printer settings.
Open your printer software, click Print→Page Settings to make sure all settings are in line with printer settings.
Solution 3: Adjust to correct printing orientation
Adjust to proper printing orientation according to the print media you’re using.
Paper range in weight from 60 to 135g/m2, we recommend you click Layout→Orientation→Portrait.
Paper weight over 135g/m2, we recommend you click Layout→Orientation→Landscape.
If the above solutions do not work, contact us via marketing_center@ggimage.com for further help!

