Have you ever suffered from the problems that your printed pages with wrong margins as shown below:
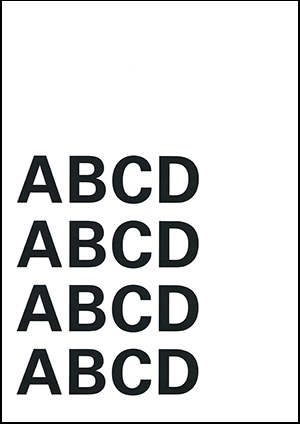
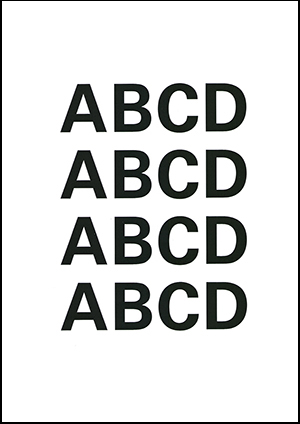
Wrong Margin Normal
After double check the typesetting on Word/PDF, it’s found that everything is normal. Is there anything wrong with my printer?
Don’t’ worry, actually the truth is hidden in the papers! G&G Print Lab will tell you 3 steps to put it in order.
Step 1: Check the paper setting on printer
This is essential because the printer must precisely recognize the size of paper you’re printing. We can reach “Tray size” control menu on printer’s control board. General operation paths:
“Main Menu” → “Trays” → “Tray X size” (depends on which tray we use)
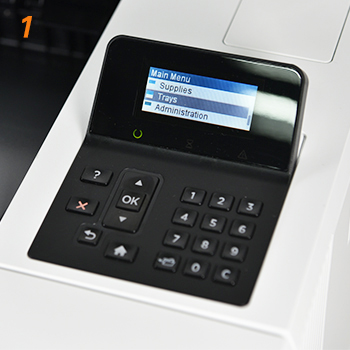
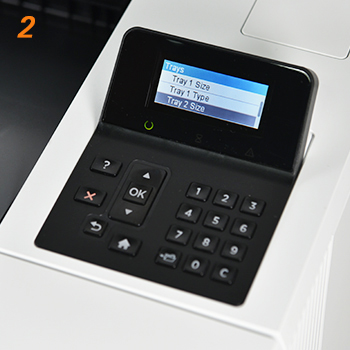
And select the right tray size according to the paper we use.
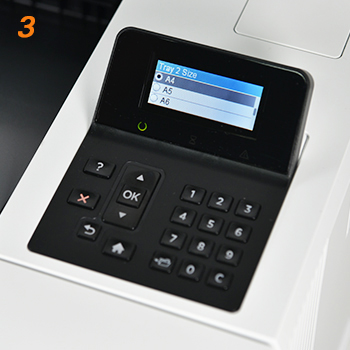
Step 2: Adjust the tray
Incorrect position of paper placement on the tray may cause the problem while transporting the paper which will result in wrong printing margins.
Firstly, open the tray
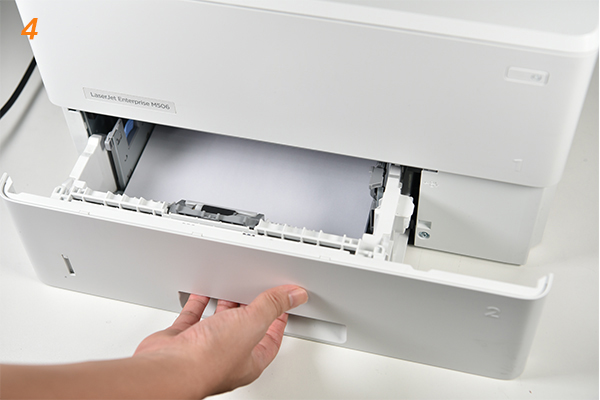
We may find that there lies gap between the paper and tray.
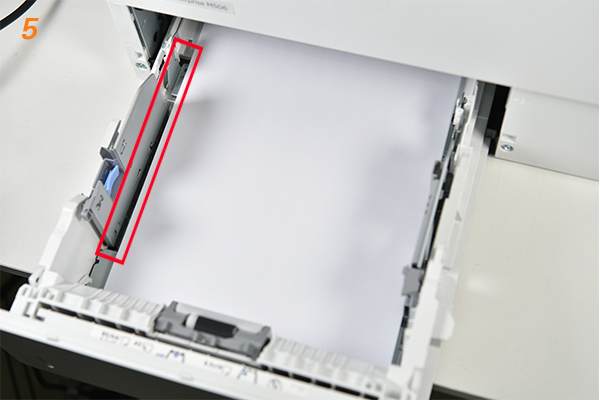
Then, we can adjust the width and length of the tray manually and make it closer.
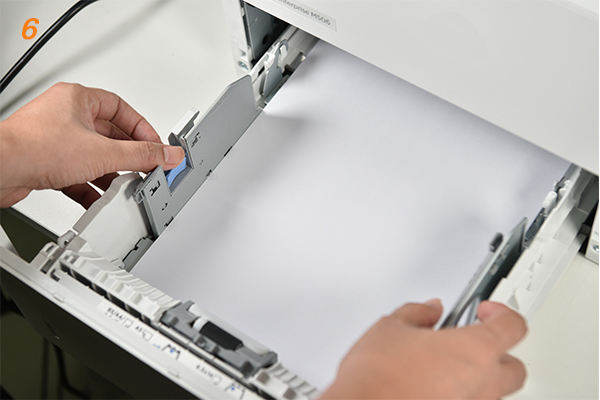
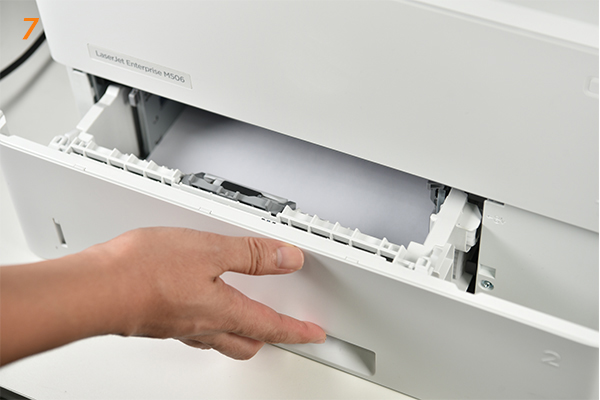
And close the tray.
Step 3: Check the paper setting on computer before printing
Similar to the step 1, it’s important to give correct order to printer’s brain so that it could provide satisfied output.
So we must be careful about the setting on computer.
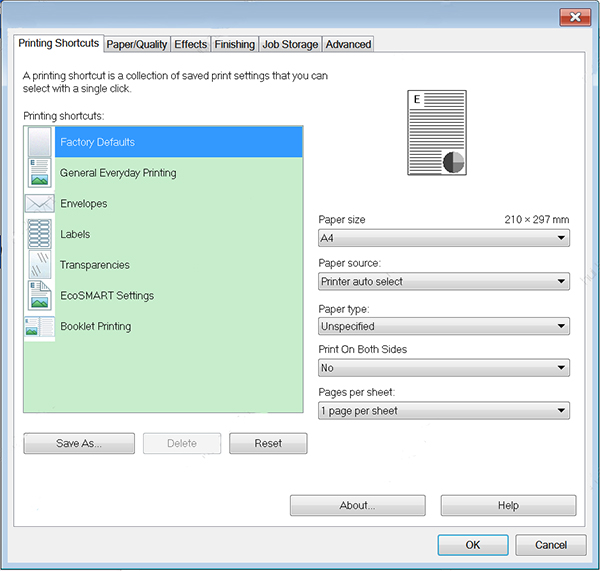
Confirm if the paper size is consistent with the paper we use.
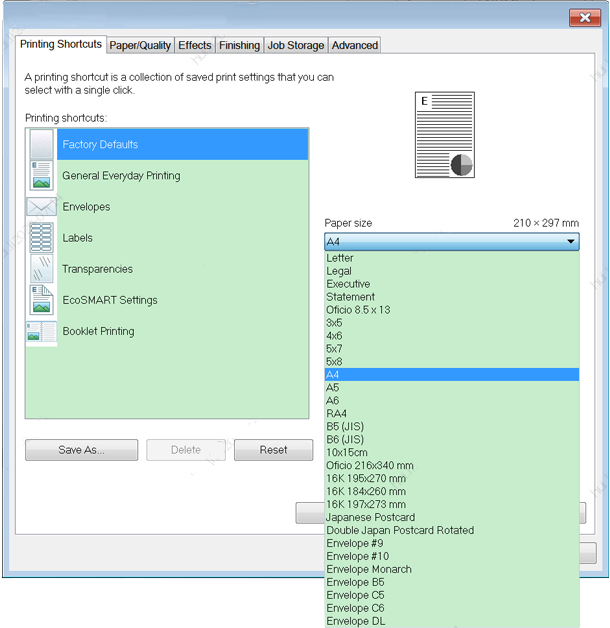
Now we can press the “Print” button to have a try.
If the problem has not been solved yet, please contact the G&G technical support via email: info@ggimage.com.

