-
Consumables
- Printers
- Industries
- Innovation
-
Partners
G&G Partner ProgramCo-Innovating Tomorrow Read More >
- About Us
-
Contact Us
If you're looking to grow your t-shirt business and boost productivity, a DTF printer might be what you want. It's an efficient way to create vibrant designs on various fabrics. Here's a guide to help you get started.
DTF printing stands for direct to film printing. As the name suggests, this method lets you print a design onto a special film and then transfer it directly to fabric using heat. DTF printing works well on both cotton and poly blends, giving you plenty of options.
To successfully launch your DTF printing operation, you'll need the right tools. Here's what we recommend:
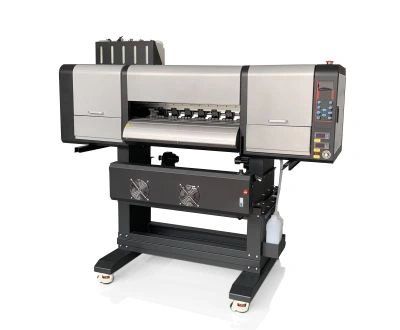
G&G DTF Printer: This DTF printer is powerful and efficient. It has four Epson i3200 printheads, which means you can print quickly—up to 323 sq.ft/hr. Plus, it has an automated system that keeps the printheads moist, helping to prevent clogs and saving you from potential printer damage.
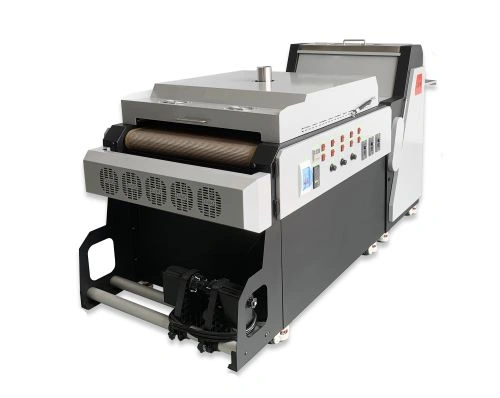
G&G Powder Shaker & Dryer: This 2-in-1 machine helps you apply and dry the adhesive powder. It has seven heating tubes to ensure quick and even drying. And its thick shell design keeps it quiet during operation.
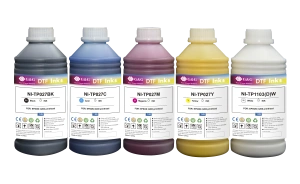
G&G DTF Ink: Choosing the right DTF ink is key to achieving good results. G&G offers high-opacity white ink for strong coverage and vibrant color inks for eye-catching images. These DTF inks are designed to prevent clogs, and they're are skin-friendly for comfortable wear.
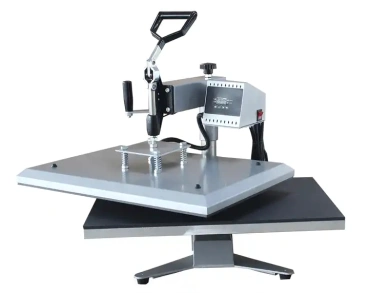
G&G Heat Press: You'll use this to transfer your design from the film to the t-shirt. A good heat press helps achieve the right temperature and pressure for a successful transfer.
Use software like Adobe Photoshop, Adobe Illustrator or Canva to make your t-shirt designs. If you're not into designing from scratch, you can find plenty of free or affordable designs online. Just make sure your artwork is high-resolution for the best print quality. Save your designs as PNG or TIFF files for compatibility with your DTF printer.
Load the DTF film into your DTF printer and select the right settings for your design. Don't forget to mirror your image before printing. This makes sure your design appears correctly on the shirt.
Next, place the printed film into the 2-in-1 powder shaker & dryer. This machine will sprinkle adhesive powder on the wet ink, shake it evenly, and apply heat to cure the adhesive. This step is necessary for bonding the powder with the ink.
After curing, position the film on the t-shirt where you want your design to appear. Set your heat press to around 305°F and apply firm pressure for about 15-20 seconds. Allow it to cool for a moment before carefully peeling off the film.
After the transfer, check the t-shirt for any imperfections. If you see any edges lifting, you can place it back under the heat press for a few more seconds to secure the design.
